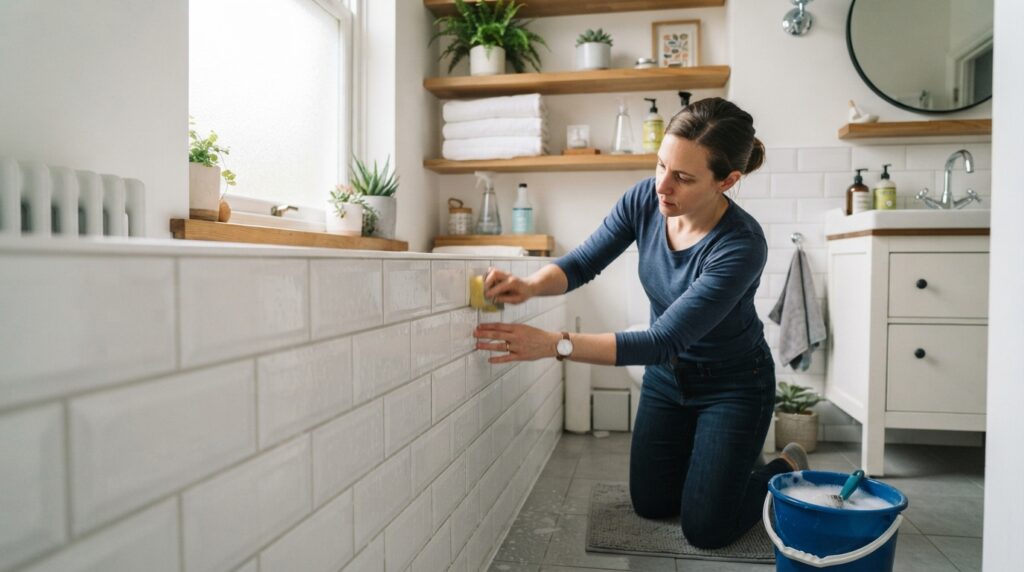
Keeping your bathroom tiles looking fresh can be a challenge. These surfaces often face constant exposure to water, soap residue, body oils, and humidity. Over time, this can lead to unsightly dirt buildup and even mold growth. If left untreated, this buildup can cause grout discoloration and long-term damage to your tiles.
Establishing a consistent cleaning routine is essential. It not only helps protect your grout but also reduces mold and preserves the surfaces in your bathroom for years. This article offers a practical approach to maintaining your tiles, including tips on various tile types, necessary supplies, and effective cleaning methods for both walls and floors.
Remember, the safest results come from matching the right cleaner and tools to the materials in your home. Our goal is to provide a simple process that removes dirt without aggressive scrubbing or harsh products that could damage your finishes.
Key Takeaways
- Regular cleaning prevents mold and dirt buildup.
- Different tile types require specific cleaning methods.
- Use appropriate tools to avoid damaging surfaces.
- Establish a routine for long-lasting results.
- Consider steam cleaning for deep cleaning without harsh chemicals.
- Always match cleaners to your tile materials.
Know Your Tile Type Before You Start Cleaning
Knowing your tile type can significantly influence your cleaning approach. Different materials have unique properties that require specific care. This understanding helps maintain their appearance and longevity.
Porcelain and ceramic tiles
Porcelain tiles are known for their durability. They are water-resistant and chemical-resistant, making them ideal for bathroom floors and shower areas. In contrast, ceramic tiles can lose their shine if harsh chemicals or abrasive tools are used during cleaning.
Natural stone, glass, and textured tiles
Natural stones like marble, travertine, and limestone are sensitive to acidic cleaners. Vinegar and lemon can etch or discolor these surfaces. Glass tiles may show streaks due to their polished finish, while textured or matte tiles can trap dirt in their grooves.
Choosing the right cleaning products is essential. Opt for pH-neutral cleaners and use soft cloths or soft-bristled brushes tailored to your tile surfaces. This will help preserve their beauty and functionality.
| Tile Type | Durability | Cleaning Recommendations |
|---|---|---|
| Porcelain | High | Use mild cleaners |
| Ceramic | Moderate | Avoid harsh chemicals |
| Natural Stone | Variable | No acidic cleaners |
| Glass | Moderate | Use glass cleaner |
| Textured | Variable | Soft brush recommended |
Gather the Right Supplies for Cleaning Bathroom Tiles
Gathering the right supplies can make all the difference in maintaining your tiles. Start with essentials like gloves, a microfiber cloth, a soft-bristled brush, a sponge, a squeegee, and a spray bottle. These items will help you tackle dirt effectively.
Next, gather a bucket, mop, broom or vacuum, and drying pads. Having warm water, dish soap, and baking soda on hand is also beneficial. These products will assist in creating a gentle yet effective cleaning solution.
Using a spray bottle allows you to distribute your cleaning solution evenly. Meanwhile, a microfiber cloth minimizes streaks on polished surfaces. Preparing all your supplies before starting will ensure you can rinse and dry the area efficiently, leaving no water behind.
Finally, remember to keep vinegar and other specialized cleaners separate from products unsuitable for stone. This precaution will help maintain the integrity of your tiles.
How to Clean Bathroom Tiles Step by Step
Achieving spotless tiles is simpler than you might think. Following a few easy steps can restore their shine and keep them looking fresh. Start by clearing away any loose dirt and debris to prepare the surface for cleaning.
Clear away loose dirt and debris
Begin by rinsing the tiles with warm water. This will help loosen any surface dirt and soap residue. Once rinsed, you can apply your cleaning solution.
Apply a gentle cleaning solution and scrub
Spray a pH-neutral cleaner evenly across the tiles. Allow it to sit for about 5 minutes, or up to 10 minutes for heavy soap scum. Use a soft brush or sponge to scrub gently in circular motions, focusing on grout lines and corners.
Rinse thoroughly and dry the surface
After scrubbing, rinse the tiles thoroughly with clean water. This ensures no leftover cleaner dries into a dull film. Finally, use a microfiber cloth or squeegee to dry the surface. This step helps prevent streaks and excess moisture.
Clean Bathroom Wall Tiles Without Leaving Streaks
Cleaning wall tiles can be tricky, especially when aiming for a streak-free finish. Begin your cleaning process at the top of the wall, where the tile meets the ceiling. This way, any dirty water will flow downward, preventing it from running over areas you’ve already cleaned.
As you work, remember to pay extra attention to corners and the bottom edges of shower walls. These areas often accumulate soap, shampoo, and hard water residue.
- Start at the top of the wall and move downward to avoid dirty water running over cleaned areas.
- Spray the cleaner evenly and work across one row at a time to ensure thorough coverage.
- Focus on corners, shower walls, and bottom edges where buildup tends to collect.
- Use a soft sponge or cloth to remove stains without damaging glazed or polished surfaces.
- Rinse with warm water and dry immediately with a towel or squeegee to minimize spots and streaks.
Clean Bathroom Floor Tiles and Remove Everyday Dirt
Maintaining the cleanliness of your floor tiles is essential for a fresh bathroom look. Start by preparing the area for effective cleaning. This step ensures that dirt does not get ground into the tile while mopping.
Sweep or vacuum before mopping
Begin by sweeping, using a Swiffer, or vacuuming the floor. This helps remove loose dirt and debris, making the next steps more effective.
Mop with warm water and mild dish soap
Next, mix 1-2 tablespoons of dish soap with warm water in a bucket, as recommended by Baker Bros. Wring the mop until it is damp, avoiding excess water that can penetrate grout.
Mop in straight lines or light circular strokes, covering the entire floor. Finish with a dry pad or microfiber towel to ensure the surface dries quickly, preventing mold growth.
Remove Soap Scum and Hard Water Stains
Soap scum and hard water stains can be a persistent problem in any bathroom. These stains are often caused by mineral deposits left behind when water dries on your shower surfaces and tiles. Tackling them effectively requires the right approach and products.
For stubborn soap scum, use a pH-neutral or tile-safe cleaner. Allow the product to sit for several minutes to loosen the buildup. This extra time can make a significant difference in the results.
When it comes to using vinegar, remember that it should only be applied to non-stone tiles. A 50/50 solution of white vinegar and water works well on glazed porcelain or ceramic. However, avoid vinegar and lemon on natural stone surfaces, as these acidic products can etch and damage them.
After treating the stains, be sure to rinse thoroughly. This step ensures that no cleaner residue remains, which could create new spots or a dull film on your tiles.
| Stain Type | Recommended Cleaner | Application Method |
|---|---|---|
| Soap Scum | Tile-safe cleaner | Let sit for several minutes |
| Hard Water Stains | Vinegar solution (non-stone) | Apply and rinse thoroughly |
| Natural Stone | pH-neutral cleaner | Use soft cloth, avoid acidic products |
Clean Grout With Baking Soda and a Soft Brush
Keeping grout clean is a key part of preserving the beauty of your tiled surfaces. Using baking soda is an effective method for tackling stains and restoring the brightness of your grout. This natural solution is gentle yet powerful enough to lift dirt without damaging the surrounding tiles.
Start by mixing baking soda with a small amount of water until it forms a thick paste. This paste should adhere well to the grout lines, allowing it to work effectively.
Make a paste with baking soda and water
Apply the baking soda paste generously to the grout. Let it sit for about 10-15 minutes. This waiting period allows the solution to penetrate and loosen stubborn stains.
Scrub grout gently with an old toothbrush
Using an old toothbrush or a soft brush, scrub the grout gently. Controlled strokes are important, as poorly maintained grout can crumble if scrubbed too hard. For deeper stains, you may add hydrogen peroxide sparingly.
Rinse well and let the grout dry
After scrubbing, rinse the grout thoroughly with warm water. Wipe the tile surface with a cloth to remove any residue. Finally, allow everything to dry completely for the best results.
| Step | Action | Time |
|---|---|---|
| 1 | Mix baking soda with water | 2 minutes |
| 2 | Apply paste to grout | 10-15 minutes |
| 3 | Scrub with toothbrush | 5 minutes |
| 4 | Rinse thoroughly | 3 minutes |
| 5 | Let grout dry | Varies |
Remove Mold and Mildew Safely
Mold and mildew can quickly take over damp spaces if not addressed promptly. These unwelcome guests thrive in your bathroom, particularly in humid areas. Therefore, it’s essential to tackle them effectively.
Start by ensuring proper ventilation. Open a window or run the exhaust fan before you begin cleaning. This step helps reduce the moisture that supports mold and mildew growth.
Next, apply a suitable mold-specific cleaner or diluted hydrogen peroxide. Always follow the product’s directions for the best results. Allow the cleaner to sit as directed, then scrub gently and rinse the tiles and grout with clean water.
Be cautious! Never mix vinegar with bleach or hydrogen peroxide. This combination can create harmful fumes or corrosive compounds. Also, when using harsh products, take extra care around natural stone surfaces, as they can become etched or discolored.
Avoid Common Tile-Cleaning Mistakes
Avoiding common pitfalls can enhance your tile maintenance efforts. Understanding what not to do is just as important as knowing the right techniques. Here are some key mistakes to steer clear of when caring for your surfaces.
First, skip using acidic cleaners on natural stone. Products like vinegar, lemon, and bleach can etch and discolor these surfaces. Instead, opt for pH-neutral cleaners that are safe for stone.
Next, avoid abrasive pads and excessive scrubbing. Steel wool and rough brushes can scratch the tile finishes and wear down grout. Gentle cleaning is often more effective.
It’s also crucial not to over-scrub stained grout. Gentle, consistent cleaning is safer than forcing buildup away with excessive pressure. Lastly, never mix bathroom cleaners, especially vinegar with bleach or hydrogen peroxide. This combination can create dangerous fumes.
Finally, always rinse and dry your surfaces after cleaning. This practice prevents leftover water, soap, or product residue from causing additional problems.
| Mistake | Consequences | Recommended Action |
|---|---|---|
| Using acidic cleaners on stone | Etching and discoloration | Use pH-neutral cleaners |
| Using abrasive pads | Scratched surfaces | Opt for soft cloths |
| Over-scrubbing grout | Erosion | Gentle cleaning methods |
| Mixing cleaners | Harmful fumes | Keep products separate |
| Not rinsing surfaces | Residue buildup | Always rinse and dry |
Keep Bathroom Tiles Looking Clean Between Washes
Simple daily habits can make a big difference in the appearance of your tiles. By incorporating a few easy practices, you can maintain their shine and reduce the need for extensive cleaning later on.
Squeegee shower tiles after each use
Using a squeegee after every shower helps remove water droplets before they turn into hard water marks or soap scum. This quick action can keep your tiles looking fresh and clean.
Run the exhaust fan and wipe up moisture
Turning on the exhaust fan during your shower and leaving it running afterward helps reduce moisture levels. This practice minimizes the risk of mildew and keeps your tiles looking bright.
Seal grout when needed to help prevent stains
Sealing your grout annually can be a game changer. It blocks spills, water, and dirt, giving you a better chance of avoiding stains.
- Run a squeegee over shower tiles and glass after every use to remove droplets before soap scum and water spots form.
- Turn on the exhaust fan during the shower and keep it running afterward to reduce moisture and mildew risk.
- Wipe high-use areas such as handles, corners, and shower walls with a microfiber cloth every few days.
- Seal porous grout annually when appropriate so spills, water, and dirt have fewer opportunities to cause stains.
- These small maintenance habits help keep bathroom tiles looking brighter and reduce deep-cleaning work over the years.
Set a Simple Bathroom Tile Cleaning Schedule
Establishing a regular cleaning schedule for your tiles can simplify maintenance and keep them looking great. Following a consistent routine not only prevents dirt buildup but also enhances the overall appearance of your space.
It’s recommended to wipe wet surfaces regularly and sweep or vacuum at least once a week. This practice prevents dirt and product residue from bonding to your tiles. Additionally, mopping your bathroom floors weekly with a damp mop and a suitable cleaner will help maintain cleanliness without flooding the grout.
According to Baker Bros, deep-cleaning your bathroom floors and walls every two weeks is essential, especially when buildup becomes noticeable. For grout, aim to clean it every one to two months, or sooner if you notice discoloration or embedded dirt.
Adjust your cleaning schedule based on factors like hard water, frequent showers, and household traffic. By tailoring your routine to your specific needs, you can ensure your tiles remain in top condition.
- Wipe wet surfaces regularly and sweep or vacuum at least weekly.
- Mop bathroom floors weekly with a damp mop and suitable cleaner.
- Deep-clean bathroom floors and walls every two weeks when buildup is noticeable.
- Clean grout every one to two months, or sooner if needed.
- Adjust the schedule for hard water and household traffic.
Conclusion
Your best results start with choices that protect each surface. Identify your tile type before picking a product or brush. Porcelain and ceramic handle gentle care well, while natural stone calls for a pH-neutral product and careful drying. Match each tool with your tile finish, and your tiles stay bright without needless wear.
Next, sweep or vacuum floors, measure mild solutions, rinse well, and dry every bathroom surface. A baking soda paste and soft toothbrush can lift grime from grout. Good airflow and careful product use also help limit mold.
For an easy routine, squeegee after each shower, wash floors weekly, and seal grout when needed. These small steps help your tile surfaces resist stains and stay fresh. With steady care, bathroom tiles can look bright and feel easier to maintain—without harsh scrubbing.