Shocking fact: an average household can waste over 200 gallons of water each week from a single leaking fixture. That much loss adds up on your bill and harms local supply.
Most cases come from simple tank parts that fail over time. The flapper, fill valve and float work as a team to control the bowl and the refill cycle. When one part slips out of place, water keeps flowing.
Before calling a pro you can inspect the fill tube, check chain length, and watch the water level. A worn seal or a misaligned arm often causes the problem. Small adjustments let the flush valve close and stop waste.
Key Takeaways
- Quick checks: inspect the tank parts like flapper, valve and fill tube.
- Water level: set the float so the bowl refills but does not overflow.
- Chain length: adjust so the flush valve seals fully after each flush.
- Seal care: replace worn rubber parts to prevent steady leaks.
- Save money: small fixes cut waste and lower your utility bill.
Why Is My Toilet Constantly Running and How to Fix It Fast
A steady trickle or full flow after a flush points at a malfunction in the tank.
Most often, the flapper fails to seal. When that rubber seat leaks, water drips into the bowl and forces the fill valve to refill the tank non-stop.
Check the chain for tangles and ensure the float sits at the correct height. A twisted chain or a float set too high lets water spill into the overflow tube and keeps the refill cycle active.
Quick fixes include adjusting chain slack, lowering the float, or replacing a worn flapper. Small changes often stop the flow and cut wasted water.
“A simple swap of a flapper or a clean of sediment on the valve can end that constant refill.”
- Listen for steady water after a flush.
- Inspect tank parts for wear or misalignment.
- Replace damaged rubber seals when adjustments fail.
| Cause | Likely Fix | Time | Estimated Cost |
|---|---|---|---|
| Worn flapper | Replace flapper | 15–30 min | $5–$15 |
| High float or misset valve | Adjust float or replace valve | 10–40 min | $0–$40 |
| Tangled chain or misaligned arm | Untangle chain, set slack | 5–15 min | $0 |
Understanding How Your Toilet Tank Works
Inspect the tank while it cycles: the motion of the flapper, chain, and float tells the story. The toilet tank holds the water that provides the force for a clean flush.
The Role of the Fill Valve
The Role of the Fill Valve
The fill valve, also called a ballcock, refills the water supply after the flapper drops back into place. It senses the water level and shuts off when the tank reaches the set mark.
The Function of the Flapper
The Function of the Flapper
The rubber flapper lifts when you press the flush lever. That lets water rush from the tank into the bowl. When the flapper seals the flush valve, the fill valve restores water for the next use.
“Keep the flapper and valve clean and aligned for steady performance.”
- Tank as reservoir: stores water needed for each flush.
- Float/arm role: a misaligned arm can force water into the overflow tube.
- Maintenance: check seals and parts to avoid a common supply problem.
| Part | Common Cause | Quick Check |
|---|---|---|
| Flapper | Worn seal or warped rubber | Press lever and watch seal close |
| Fill valve | Sediment or misset level | Observe shutoff at water level |
| Float & arm | Misalignment leads to overflow | Adjust arm height and test |
Why Ignoring a Running Toilet Costs You Money
Left unchecked, a small tank leak turns into a large water bill fast. A running toilet can waste up to 200 gallons of water per day. That adds a hefty line to your monthly bill.
When a toilet keeps running, you pay for water that never serves a purpose. The constant flow stresses the fill valve and other tank parts. Wear and tear speeds up, raising repair costs.
Common culprits include a worn flapper, a misset float, or a tangled chain. Each allows water to spill into the bowl through the overflow tube, wasting supply and energy used for treatment.
- Money drain: wasted water = higher water bill.
- Plumbing wear: steady flow wears the valve and seals.
- Simple wins: address chain or flapper issues early to stop the problem and make the toilet stop losing water.
“Fix running issues quickly and you protect your home while saving money.”
Initial Steps Before You Start Repairs
Safety first: stop the flow so you can inspect parts without risk. This keeps work tidy and prevents surprises while you check mechanisms inside the tank.
Turning Off the Water Supply
Locate the shut-off valve behind the base of the unit. Grasp the knob and turn water off until the line stops. This halts refill cycles and avoids accidental flooding.
After you turn water off, lift the lid and set it aside. With the supply closed, you can see the flapper, chain, and fill valve clearly.
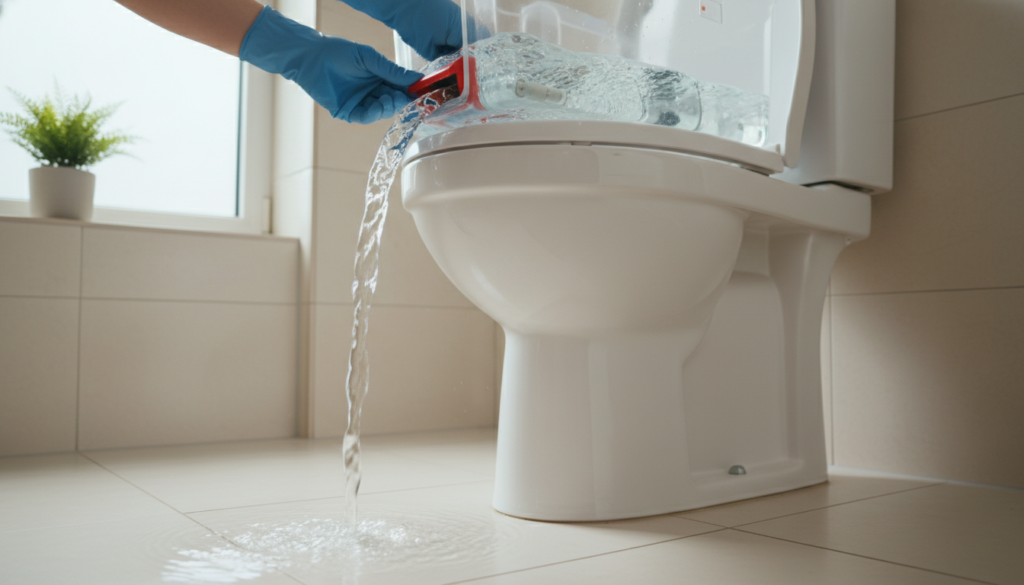
Confirm the tank holds no new flow by flushing once. The bowl should drain and the tank should not refill. If it does, double-check the valve at the wall.
- Shutting the supply prevents spills while you work.
- Clear view of the tank helps spot the worn part fast.
- Only proceed with replacements after the valve is fully closed.
“Turn off the source first. Most small repairs start and end with that simple step.”
| Step | Why | Time |
|---|---|---|
| Shut shut-off valve | Stops incoming water and prevents flooding | 1–2 min |
| Remove lid | Allows clear inspection of tank parts | 30–60 sec |
| Test flush | Confirms supply closed before work | 1 min |
Troubleshooting the Flapper and Chain
A quick look inside the tank can reveal whether a warped flapper or a tangled chain causes the leak.
Start simple: check chain routing first. If the chain catches on the flush lever or has too much slack, the flapper may never seal the flush valve fully.
Replacing a Worn Flapper
If the flapper shows cracks, warps, or mineral buildup, you need a new one. First, turn water off at the shut-off near the base.
Unhook the old flapper from the pins, attach the replacement that matches your tank model, and seat the seal. Then restore the supply and test a flush.
Adjusting Chain Slack
Goal: the chain should allow the flapper to close without extra drag. Shorten or lengthen at the clip until the flapper rests flat.
After adjustments, flush and watch the bowl and tank refill. Confirm the valve shuts off and the running toilet sound stops.
| Issue | Action | Time |
|---|---|---|
| Worn flapper | Replace flapper, match model | 10–20 min |
| Tangled or long chain | Adjust clip or trim links | 5–10 min |
| Poor seal | Clean seat, install new seal | 10–15 min |
Adjusting the Water Level and Float
Set the tank so the water stops just below the overflow tube. After you turn water back on, watch where the water settles. The target is 1 to 1.5 inches below the top of the overflow tube.
If the float sits too high, the fill valve keeps filling and water spills into the overflow tube. That forces the fill valve to work nonstop and wastes clean water.
On older models, bend the float arm gently to lower the level. On modern units, turn the adjustment screw or press the clip on the float cup to change height. Make small changes, then flush and observe the new water level.
If the float ball shows cracks or holes, replace it so the valve shuts off when the tank fills. Proper float height stops overfilling, keeps the flapper sealed, and restores normal flush pressure for each flush toilet cycle.
“Fine-tuning the float height is a critical step; it prevents overflow and ends unnecessary water waste.”
| Action | Why | Time |
|---|---|---|
| Turn water on and observe | Find current water level vs overflow tube | 1–2 min |
| Adjust float arm or cup | Set water 1–1.5″ below overflow | 5–10 min |
| Replace damaged float ball | Ensure proper shutoff of fill valve | 10–20 min |
Inspecting the Fill Valve and Overflow Tube
Start by watching the refill cycle. A brief observation often shows sediment in the fill valve or a leak at the overflow tube that drops the water level inside the tank.
Cleaning Sediment Buildup
Shut off the water supply and drain the tank before you touch parts. Remove the cap or cup of the fill valve and rinse any mineral deposits away.
Check the overflow tube for cracks or warping. A damaged tube lets water escape into the bowl and forces the valve to keep filling.
If cleaning restores the seal, you save time and cash. If not, plan a replacement. A new fill valve is affordable; many cost less than $10 and install in minutes.
“Replace the fill valve after draining the tank and disconnecting the supply for a safe swap.”
- Clean debris from the fill valve and fill tube.
- Inspect overflow tube for damage that lowers the tank level.
- Replace the valve with a new one when cleaning fails.
| Task | Why | Time |
|---|---|---|
| Clean fill valve | Restores seal and stops extra water use | 10–20 min |
| Inspect overflow tube | Prevents water loss into bowl | 5 min |
| Replace valve | Reliable shutoff and better efficiency | 15–30 min |
When to Call a Professional Plumber
If simple parts swaps and tweaks do not end the flow, call a licensed plumber for a thorough inspection.
Professional crews can find hidden leaks, main sewer issues, or damage inside the tank that DIY checks miss. Companies like ARS/Rescue Rooter and Advanced Heat AC & Plumbing diagnose complex problems and offer reliable repair plans.
Call help when you notice water damage at the base, repeated refill cycles after you replaced the flapper, or when a new fill valve still fails.
- Pros can test the flush valve and overflow tube for subtle faults.
- They have the tools to locate leaks under the floor or along the main line.
- Complex fixes — such as replacing a damaged tank or installing a new fill — are safer with a pro.
“If basic parts swaps don’t stop the issue, professional diagnosis prevents wasted water and higher costs.”
| Situation | What a Pro Checks | Expected Result |
|---|---|---|
| Persistent refill after flapper swap | Flush valve, fill valve, overflow tube | Targeted repair or new fill valve |
| Water stains at base | Seal, wax ring, hidden leak | Secure repair and leak stop |
| Unclear source of loss | Main sewer line, subfloor inspection | Accurate diagnosis and long-term repair |
Tips for Preventing Future Toilet Issues
A short annual tune-up of tank parts saves water and frustration later.
Inspect the flapper and fill valve yearly. Replace the flapper or the fill valve before it fails. Jim Reinhart of American Standard notes seals often leak every 3–5 years.
Avoid harsh chemical cleaners inside the tank. These products damage rubber seals and shorten part life. If you have hard water, consider a treatment system to cut mineral build-up on the fill valve and cup.
- Check chain length and float height after a few uses.
- Watch where the water level stops; keep it below the overflow tube.
- Inspect the fill tube, fill valve, and flush valve for crust or wear.
Quick habit: run a check of guest bathrooms monthly. Little leaks hide when a fixture sits unused and can make a toilet keep running without notice.
“Routine maintenance extends part life and helps you avoid costly repair.”
Conclusion
Small tweaks inside the tank often end noisy operation and save gallons each day.
You can often stop a running toilet with a quick check of the flapper, chain, and the fill valve. Simple parts swaps or small adjustments reduce waste and protect your water bill.
Keep a short maintenance habit: inspect valves, seals, and the float every few months. If you cannot fix running issues yourself, contact a licensed plumber for a focused repair.
Taking a few minutes now prevents larger costs later. A well‑maintained toilet is a quiet one. Thanks for following this guide.